Lay a Dry-Set Paver Path in a Weekend
Grading, a two-lift compacted base, screeded sand, and edge restraint for a path that stays flat.
Pre-flight briefing
Read this before you buy a single paver
Overview
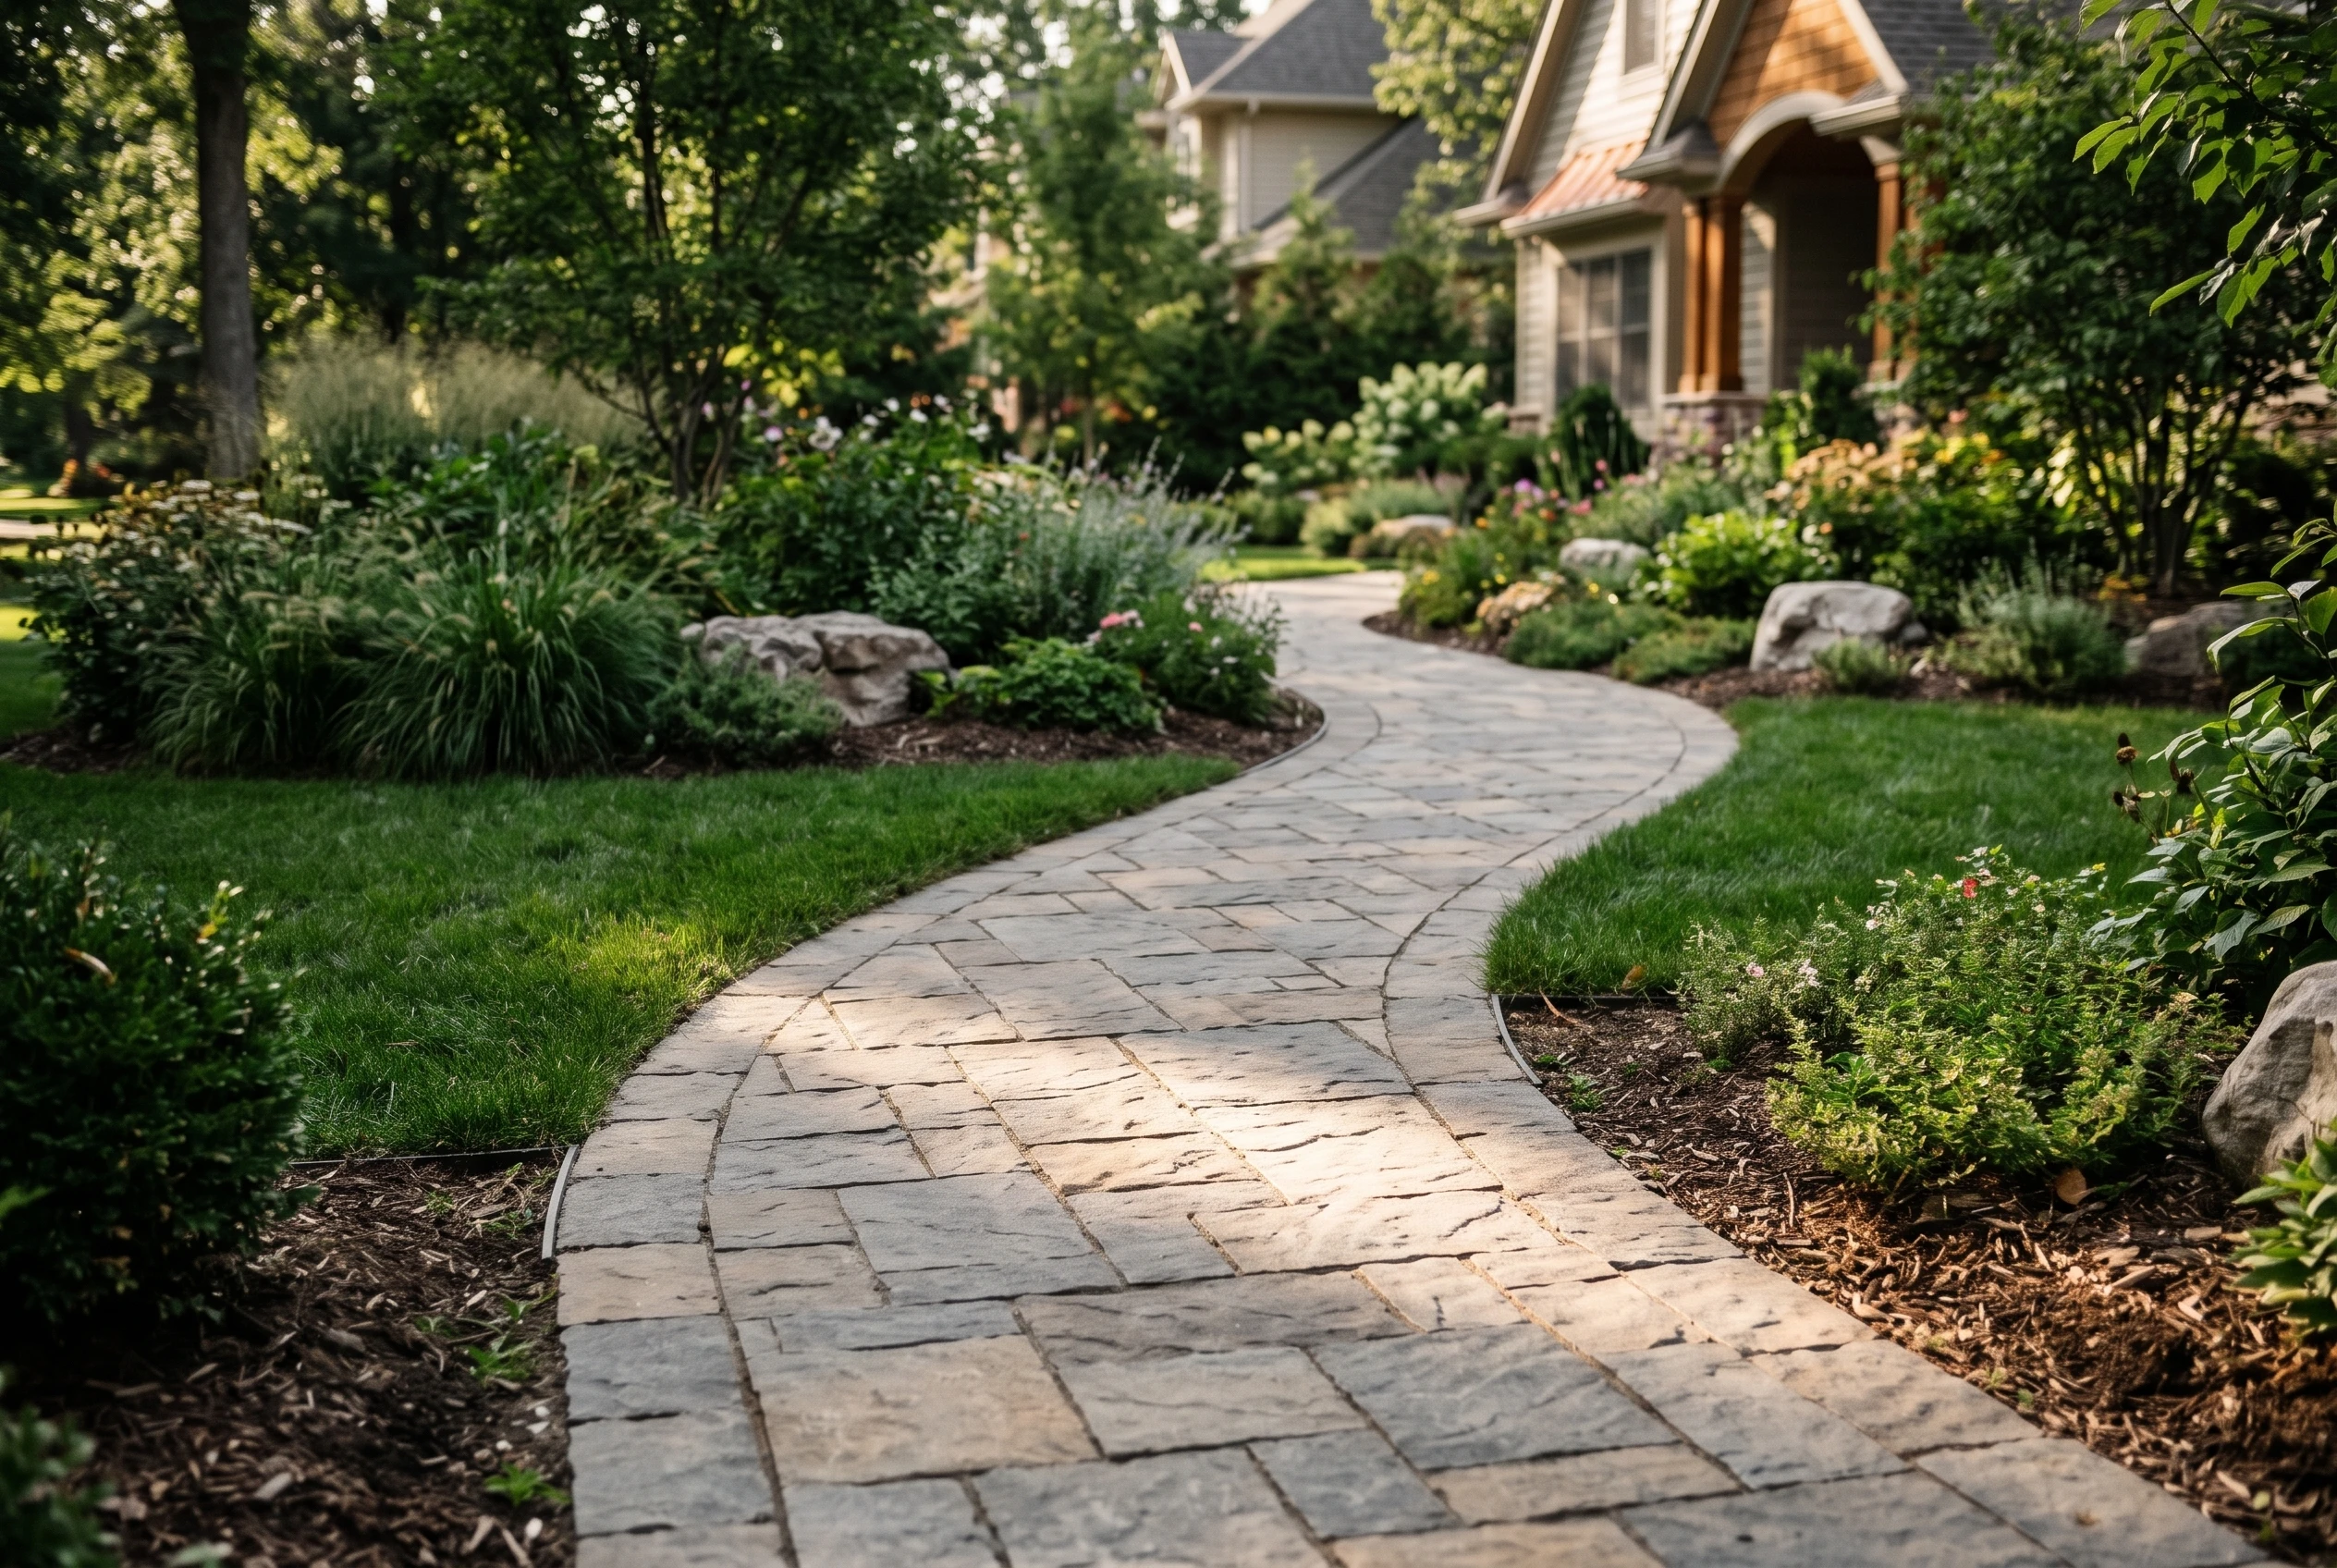
Build an interlocking, dry-set stone or concrete paver walkway that stays level and sheds surface water away from your foundation without requiring wet mortar or poured concrete.
Estimated time
14–18 Hours (Weekend Build: Sat Excavation/Base, Sun Setting/Sanding). Note: Times vary with square footage, excavation depth, curve complexity, and precision cuts.
Add roughly 25 percent for a first attempt and a yard with awkward access.
Contractor pro-tip
Buy your base stone and bedding sand first, then order pavers. Suppliers run out of stone far more often than pavers, and a half-finished base sitting in the rain is the most common way a weekend build turns into a month.
Tools checklist
- Wet tile/masonry saw with continuous-rim diamond blade
- Flat-edge transfer shovel and trenching spade
- Wheelbarrow or motorized dump cart
- Mechanical plate compactor (or 8" cast iron hand tamper)
- 4-foot carpenter's level & line level with mason's line
- Wooden grade stakes & high-visibility mason's line
- Dead-blow rubber mallet
- 1" O.D. rigid steel conduit pipes (screed rails)
- Rigid, straight 2x4 screed board
- Tape measure, marking paint, & wax pencil/chalk
- Paper or foldable cup (for funneling pipe trenches)
- Stiff-bristle push broom & low-throttle leaf blower
- Garden hose with multi-pattern spray nozzle
Materials checklist
- Interlocking concrete or stone pavers (2-3/8" typical thickness)
- Woven or non-woven geotextile paver fabric
- 3/4" clean crushed angular stone (#57 or #67) — 1 ton covers ~50-55 sq ft at 4" deep; 1 cu yd covers ~80 sq ft
- Classified screening (or ASTM C33 sand / #9 stone) — 1 ton covers ~200-220 sq ft at 1" deep; 1 cu yd covers ~300-320 sq ft
- Heavy-duty L-shaped plastic or aluminum paver edge restraint
- 10" to 12" steel spiral landscape spikes
- Commercial polymeric sand
Safety first — applies to the whole build
- Call 811 before digging to mark buried electric, gas, water, or communications lines.
- Always wear an approved N95 or P100 respirator mask and sealed eye protection when cutting pavers—even when running a wet saw.
- Wear steel-toe boots, heavy-duty work gloves, and hearing protection when operating mechanical plate compactors.
The build
Step by step
6 steps · 14–18 Hours (Weekend Build: Sat Excavation/Base, Sun Setting/Sanding). Note: Times vary with square footage, excavation depth, curve complexity, and precision cuts.
- 1
Layout, Slope Calculation, and Site Marking
Saturday MorningCall 811 before digging to mark buried electric, gas, water, or communications lines. Drive wooden grade stakes along both edges of your walkway at 4- to 6-foot intervals and tie high-visibility mason's line between them to outline boundaries and curves. Use a line level on your mason's line to verify that the string slopes away from your foundation or patio at a minimum of 1/4 inch per linear foot (a 2% grade). Your mason's line must be pulled completely taut to eliminate line sag so you get an accurate reading on your line level. Spray marking paint along the grass or soil directly under the string line, leaving an extra 6 inches of width on each side beyond the final paver width to accommodate edge restraints and base stability.
The costly mistake
Never eyeball your path's slope. A path that sits flat or slopes back toward the structure traps standing water, softens the soil subgrade, and guarantees uneven settling or frost heaves after the first hard freeze.
- 2
Subgrade Excavation, Compaction, and Geotextile Fabric
Saturday Late MorningCalculate your target excavation depth by adding the compacted base thickness (4 inches), compacted bedding screening layer (1 inch), and paver thickness (typically 2-3/8 inches) for a total depth of approximately 7-3/8 inches. Excavate turf and topsoil to this uniform depth using a flat-edge spade and transfer shovel, measuring down from your reference mason's line at multiple checkpoints. Rake the bare soil trench floor smooth, clearing out roots and organic debris. Run your plate compactor or hand tamper across the bare ground until the dirt is firm and resists indenting under work boots. Roll out heavy-duty geotextile paver fabric across the entire excavated trench floor, overlapping seams by at least 12 inches and running it up the side walls of the trench to prevent aggregate from migrating into subgrade clay or silt over time. (Field Tip: If your native soil is loose, sandy, or sticky clay where the plate compactor struggles to travel, lay your fabric down immediately, spread a light 1/2-inch "skitter" layer of crushed stone directly over it, and run the compactor in two perpendicular passes to lock down the subgrade without churning bare dirt).
The costly mistake
Never spread gravel base directly over loose, uncompacted topsoil without geotextile fabric. Topsoil decomposes and silt shifts under traffic; without this separation layer, the aggregate sinks into the subsoil, creating dips and uneven pavers within months.
- 3
Base Aggregate Installation, Moisture Conditioning, and Compaction
Saturday AfternoonUse 3/4-inch clean crushed angular stone, commonly referred to as #57 (or #67 stone). Ordering Rule of Thumb: 1 ton covers roughly 50 to 55 square feet at a 4-inch compacted depth (1 cubic yard covers roughly 80 square feet). Always order an extra 10% for base over-dig and settling...
The costly mistake
Attempting to compact 4 to 6 inches of aggregate in a single pass is the number one reason DIY walks sink. Most residential plate compactors only achieve effective compaction through 2 to 3 inches of material. Uncompacted stone trapped beneath the top crust will settle over time, creating dips and uneven pavers.
- 4
Screed Rails, Bedding Material, and Multi-Pass Compaction
Sunday MorningClassified screening (fine, washed stone screening with fines removed) is the top contractor recommendation because it locks tight, provides superior drainage, and creates a firm, non-shifting setting bed. If classified screening is not available at your local quarry or landscape yard, use coarse, washed concrete sand (ASTM C33 specification) or 1/4-inch washed angular chips (#9 stone/HPB). Never use play sand, masonry mortar sand, or unwashed limestone rock dust. Lay 1-inch outside-diameter (O.D.) rigid steel conduit pipes along the entire run of the walkway directly on top of the graded gravel base, keeping them as close to the outer boundaries as possible while ensuring they remain fully supported across the stone underneath. Shovel screening across the rails and pull a rigid 2x4 screed board smoothly across the pipes to level the entire path. Mist lightly with water, then run your plate compactor in at least two perpendicular passes, staying close to the rails without striking them. Shovel another thin layer of screening over the rails, screed the entire length a second time, mist lightly, and tamp again. Finish with one final, light screed pass across the pipes. Carefully lift the pipes straight up and out. Fill the narrow pipe voids with fresh screening—a paper cup or foldable cup works great for funneling and placing the screening directly into the pipe trenches without disturbing the surrounding base material. Use an 8-inch hand tamper or the flat face of a 2x4 block to carefully hand-tamp the filled pipe trenches until they are completely flush, dense, and seamless with the rest of the bed.
The costly mistake
Never skip the multi-stage screed and tamp process on stone screenings. Screeding a thick layer once without intermediate compaction leaves soft subterranean pockets beneath the surface crust. When foot traffic or rainfall hits the walkway later, those pockets compress, causing localized dips and cracked joints across your finished pavers.
- 5
Setting the Pavers and Making Precision Cuts
Sunday MiddayDo not attempt to snap chalk lines on bedding material. Drive two sturdy stakes outside the walkway trench and pull a taut mason's line just above the intended finished paver surface, squaring it perfectly to your starting point (such as a patio edge, foundation wall, or threshold) using the classic 3-4-5 rule: from your corner, measure 3 feet along your baseline, 4 feet out along your perpendicular guide string, and adjust the stake until the diagonal between those two points measures exactly 5 feet. Always set pavers by working on top of the pavers you have already laid—never step onto the screeded bedding material. Drop each paver straight down into position with a "click" against adjacent units; do not slide pavers horizontally across the bedding material, which drags stone fines into the joints and ruins the grade. Lay a 4-foot carpenter's level across the pavers in multiple directions every 4 to 5 feet, tapping down high units with a dead-blow rubber mallet. If a paver sits low, pull it straight up vertically rather than prying at an angle to avoid gouging the underlying screed bed, add a pinch of screening underneath, and reseat it. For curves or borders, trace cut lines directly onto overhanging pavers using chalk or a wax pencil, marking identification numbers underneath each piece. Cut your marked stones using a wet masonry saw equipped with a continuous-rim diamond blade. The continuous water flow suppresses airborne dust, cools the blade, and produces clean, chip-free cuts on decorative tumbled or textured pavers.
Safety alert
Critical Safety Alert — Respiratory & Eye Protection: Even when using a wet saw with water suppression, always wear an approved N95 or P100 respirator mask and sealed eye protection (safety goggles). High-speed spinning diamond blades throw wet slurry, fine waterborne silica droplets, and stone fragments directly toward your face. Inhaling airborne silica dust causes permanent, irreversible lung damage (silicosis).
- 6
Setting the Edge, Final Compaction, and Polymeric Sanding
Sunday AfternoonOnce all pavers and cut border pieces are fully set in place, install heavy-duty "L-shaped" plastic or aluminum paver edge restraint tightly against the outer perimeter of the pavers directly on top of the crushed stone base. Drive 10-inch to 12-inch heavy steel spiral spikes through the restraint slots and deep into the aggregate base every 12 to 18 inches (or in every open slot around tight radius curves) to lock the entire walkway firmly in place. Ensure the paver surface is 100% dry to the touch before opening the sand bag. Pour polymeric sand across the walkway and sweep it into all joints with a stiff-bristle push broom, running the broom diagonally across joint lines to prevent digging sand back out of crevices. Place a rubber protection pad or a sheet of dense carpet underneath your plate compactor (to prevent scratching or cracking paver faces) and make two passes over the sanded path to vibrate sand deep into the joints. Always verify with your paver supplier or manufacturer specifications whether your chosen paver is rated for plate compactor passes (delicate wet-cast slabs, large-format porcelain, or textured slate may require rubber mallet consolidation instead). Sweep in additional sand to refill joints to within 1/8 inch of the paver chamfer edge, then sweep and leaf-blow the surface completely clean of all stray dust. Set your garden hose nozzle to a fine "shower" or "mist" setting and lightly mist the walkway from the highest elevation downward in multiple 3-to-5-minute intervals until the sand joints absorb water without creating standing puddles or runoff. Allow the polymers to cure undisturbed for 24 to 48 hours before opening the walkway to regular foot traffic.
The costly mistake
Activating polymeric sand while loose dust remains on the paver face creates a permanent white haze (polymeric haze) that bonds to the stone and requires harsh chemical washes to remove. Always use a leaf blower at low throttle to blow every speck of polymer dust off the paver faces before turning on the garden hose.
Contractor Referral Network
Decided this build is more than you want to tackle?
Moving tons of aggregate, running heavy mechanical plate compactors, and executing wet diamond cuts takes serious physical labor and specialty tools. If you’d prefer to hand off the excavation, grading, and warranty to a vetted local crew, get free, no-obligation estimates from licensed hardscaping contractors in your area.
Free estimates • Zero obligation
Tools & hardware
Need additional equipment?
Explore our complete inventory of commercial mowers, trimmers, compactors, and hauling rigs.